Make it last
How to Iron a Shirt Properly in Under Five Minutes
Collar, cuffs, sleeves, yoke, back, fronts. In that order. Everything else is improvisation.
Updated 25 Jul 2026 · 6 min read · how to iron a shirt in five minutes
The order exists because of how a shirt is built
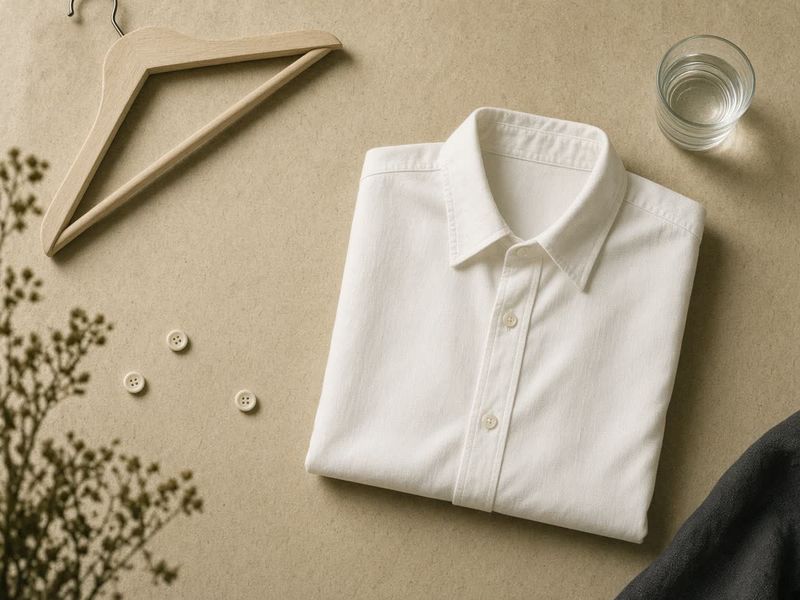
Collar and cuffs are two layers of cloth plus interfacing. They take the most heat and they are what people see. Sleeves next so you do not crease them against a finished body. Yoke and back are large and easy. Fronts last, around the placket. If you start with the body you will recrush the collar when you flip the shirt.
- Collar: inside, then outside, point toward the iron.
- Cuffs: inside, then outside, open.
- Sleeves: align the seam, one pass, then the other face.
- Back and yoke: pull the cloth taut with the free hand.
- Fronts: around buttons, never over them.
Damp is faster than dry
A shirt from the wash, 10 minutes on a hanger, is the right dampness. A dry shirt needs a spray bottle. Steam helps; soaking does not. Oxford cloth wants more water than poplin. Linen wants more still, and will wrinkle again — that is the fibre, not your failure.
When not to iron
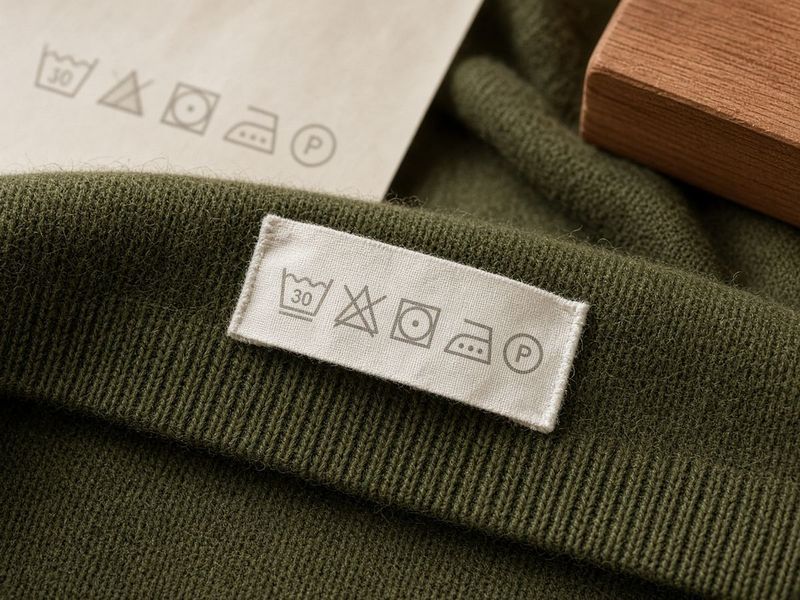
Merino follows wool rules — steam hang, do not press shine into it. A non-iron shirt is chemically resin-coated; a hot iron can yellow it. If the label says do not iron, believe it.
Questions, answered
- Should I iron inside out?
- Dark colors and prints, yes, to avoid shine. White oxford, no — you want the face smooth.
- Iron or steamer?
- Steamer for knits and hanging dresses. Iron for collars, cuffs, and plackets.
- How do I stop shine on wool trousers?
- Pressing cloth (a cotton tea towel) and less steam. Shine is crushed fibre.